What to Photograph When Requesting a Plating Equipment Quote
The Photo Problem
Most equipment RFQs arrive with one or two photos that don't quite show what the supplier needs to see — usually a wide shot of the line. What's missing is the close-up geometry: the lug, the tip, the door mechanism, the perforation, the gear. The shots below cover that gap.
You don't need professional equipment. A modern phone camera, decent shop lighting, and a coin or tape for scale is enough.
Danglers — Four Shots
- Full length, flat. Dangler laid out on a workbench with a tape measure running along its length. Lug at one end, tip at the other, tape markings readable.
- Lug close-up. Bolt hole clearly visible, with a coin or wrench beside it for scale.
- Tip close-up. Cable-to-tip transition. If the tip is removable, photograph it both threaded on and unthreaded.
- In-service position. Dangler hanging in the bath / on the barrel from the side. This single photo resolves most cable-length ambiguity.
Barrels — Eight Shots
- Full side view. Whole barrel from the side, door visible if possible.
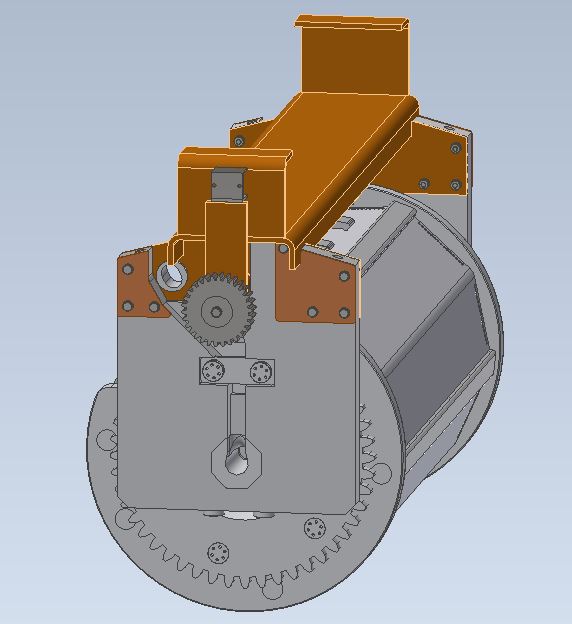
- End head view. One end head-on, showing gear, hanger, bearing area, and cable entry. Both ends if they differ.
- Door open. Loading position, showing the door mechanism (clip, slide lock, linkage, etc.) and the interior.
- Door closed and latched. All clips, locks, or linkages engaged.
- Perforation close-up. A 6"×6" area shot straight-on, with a coin or ruler in the frame.
- Gear detail. Tooth profile, tooth count if countable, gear-to-end-head mounting.
- Hanger / bearing detail. Trunnion pin, bearing through-hole, cable entry routing.
- Smallest part on a workbench. One of the smallest parts you plate, with a coin or ruler. This drives perforation specification more than anything else.
Bus Bar and Cable Entry (if dangler-fed)
- Side view of the bus bar above the barrel showing dangler attachment points.
- Close-up of one bus bar bolt with a wrench beside it.
- View down through the bearing showing the cable pass-through.
Existing Drawings — If You Have Them
Photograph or scan any drawings of the existing barrel, even old hand-sketched ones. Source drawings often contain dimensions, materials, and tolerances that are difficult to capture by tape measure — especially for older Koch, Jessup, or Hardwood Line equipment. Multiple sheets: photograph each separately rather than fitting them all in one frame. Large-format drawings: capture the title block and the relevant dimension lines clearly.
Quick Tips
- Shoot in good light. Bright shop lighting or outdoors beats dim corners.
- Include a scale reference (coin, ruler, tape) on any close-up.
- Wipe debris and bath residue off the area before shooting.
- Shoot perpendicular to the surface for measurement shots — angled photos distort dimensions.
- Label files by what they show (
full_side_view.jpg,door_open.jpg,perforation.jpg) so they're easy to map to spec questions.
Got the photos? Send them through the contact page or to info@levelupplatingsupply.com along with whatever spec data you have. The more complete the first message, the fewer rounds of clarification before a quote.
Submit a Quote Request →